Although ClickFunnels allow you to have custom domains, what you’ll find is that your URLs containing your custom domain (e.g. mydomain.com/awesome-funnel) will actually redirect to ClickFunnels’ own domain and the auto-generated URL (e.g. your-username.clickfunnels.com/xyz).
First, this isn’t pretty. And second, this won’t work with some advertising platforms such as Google AdWords (they are very strict about destination URLs – no redirection allowed!), which might limit the ways in which you drive traffic to your sales funnels.
But don’t worry. An easy solution is to install WordPress in your custom domain (which you probably have done already), and then use the ClickFunnels plug-in in WordPress. In fact, there’s no need to go through all the steps in setting up your custom domains in ClickFunnels – which is a lot more work than this simple plug-in (if you don’t believe me, you can read ClickFunnel’s instructions here).
A step-by-step guide:
- Install WordPress and log in to your dashboard (mydomain.com/wp-admin).
- Go to Plugins –> Add New, and search “ClickFunnels”
- Install and activate the plug-in
- Go to Settings in the ClickFunnels plug-in. Put in the email you registered for your ClickFunnels account and the WordPress API key, which you can find when you click Account –> Account Details in ClickFunnels.
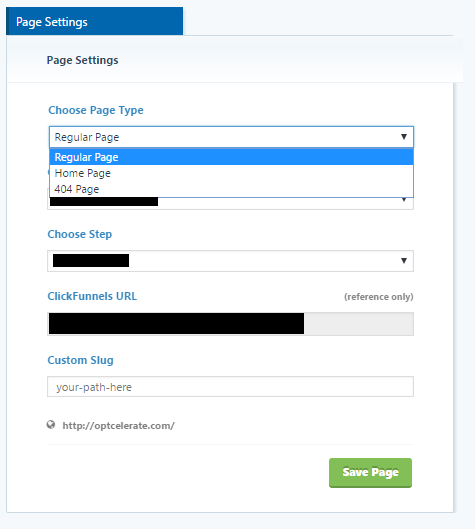
- Once you’ve set up the integration, you can add pages! They can be added as a regular page, your homepage, or a 404 page (i.e. “not found” page). The integration is pretty seamless – you just need to pick the funnel you want and the step you want (usually the first step – i.e. the landing page).
- And your sales funnel now has a pretty custom URL!
You can watch a step-by-step video here:
For more support, you can read the support docs here, including common issues with the plug-in.

One Thought on “[ClickFunnels Tips] Integrating ClickFunnels with WordPress”
Comments are closed.